Q2
Q2
 QIDI Box
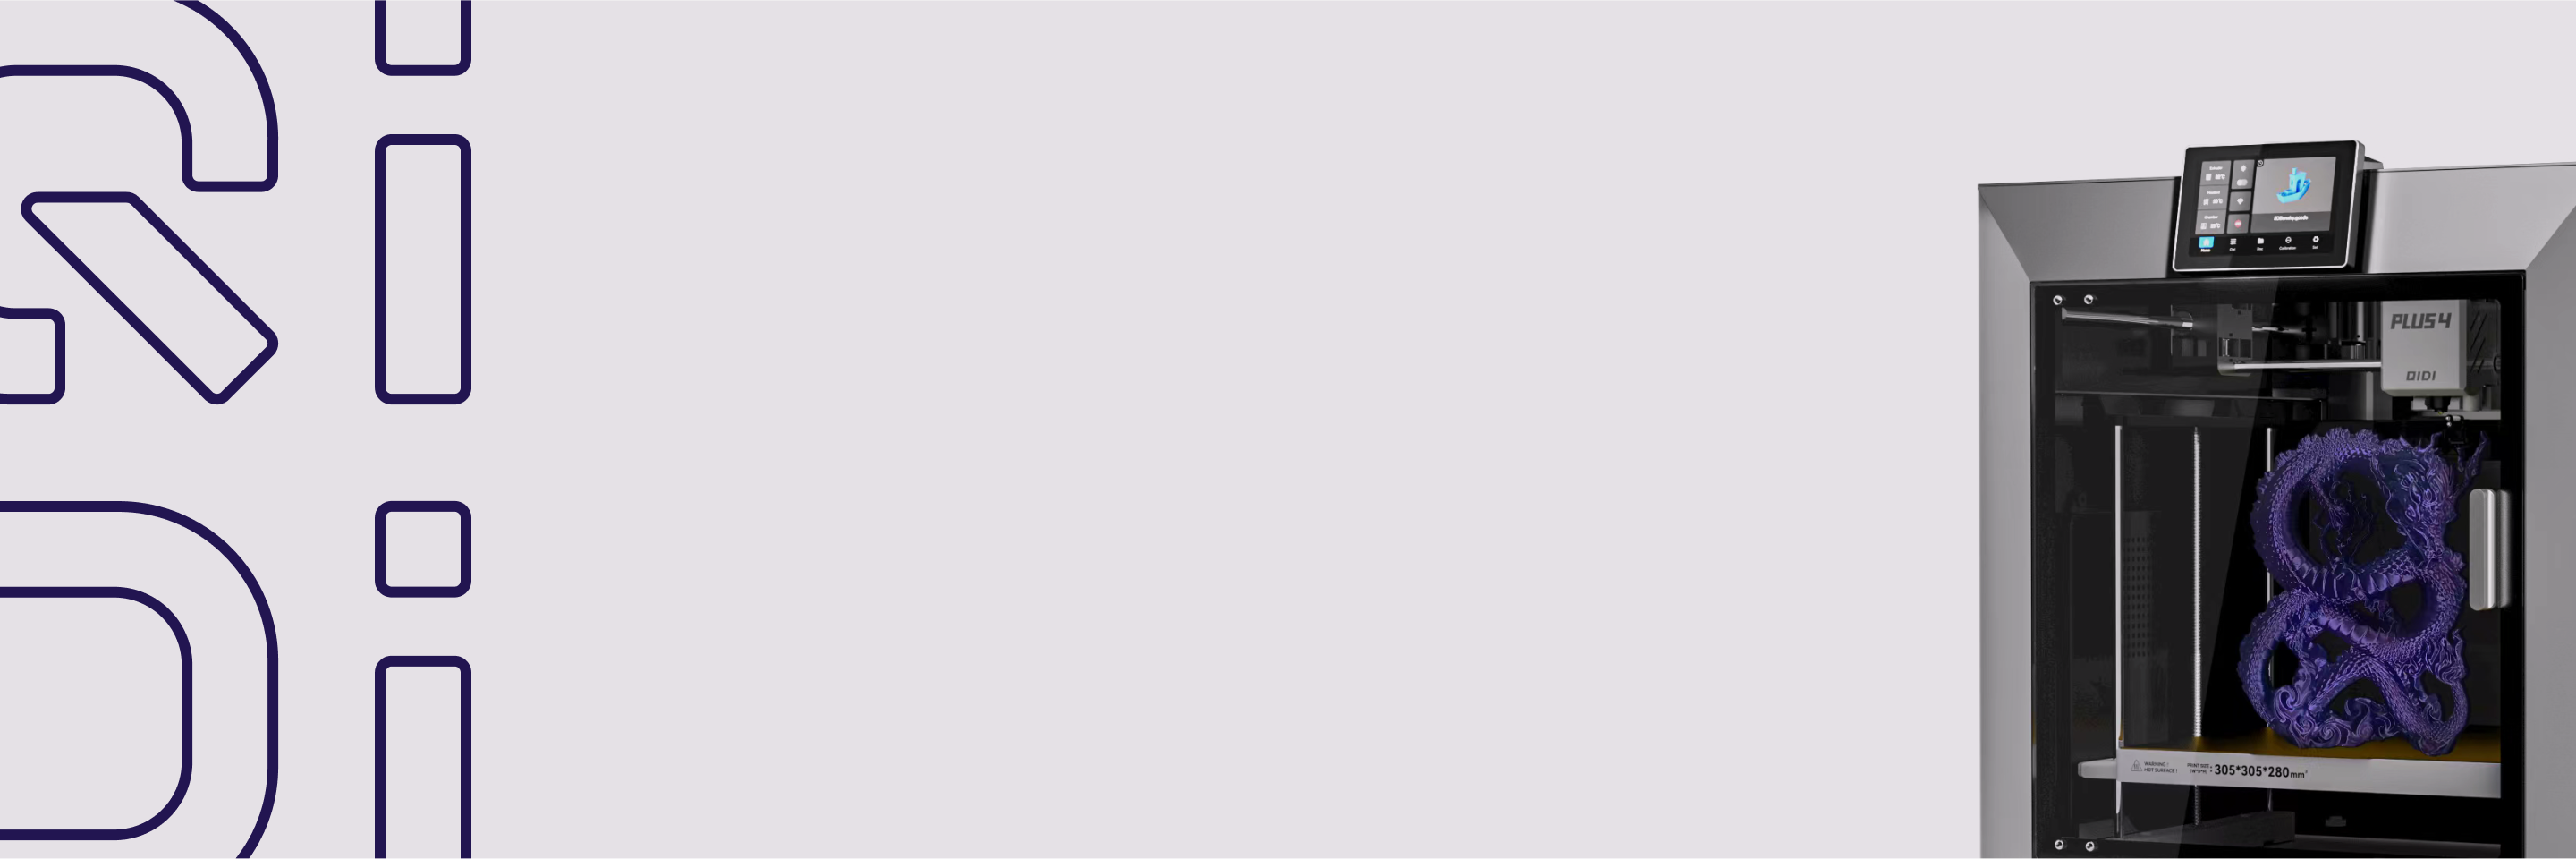
 Plus 4
 Q1 Pro
 X-Max 3


How to Print Flexible Cosplay Armor Using TPU


Why TPU for armor
I wore a PLA Mandalorian chest plate to a convention two years ago. It cracked along a layer line when I bumped a doorframe. The glue repair was visible in every photo for the rest of the day.
TPU doesn't do that. It absorbs the bump, flexes around the impact, and springs back to its original shape. In a convention crowd where you're constantly bumping into people, getting sat on in panels, and shoving armor into bags for transport, TPU survives. PLA doesn't.
TPU also moves with your body. Knee sections, elbow guards, neck seals, and any armor piece over a joint needs to flex when you move. Rigid PLA or PETG armor over a joint either restricts your movement or pops off its attachment points. TPU bends naturally. For the helmet portion of a cosplay build, rigid materials still make sense (helmets don't flex). But everything below the neck benefits from flexibility.

Choosing shore hardness
TPU 95A is the starting point. Semi-rigid, holds shape under its own weight, prints almost as easily as PETG. For armor plates that need to maintain their form (chest, shoulder pauldrons, thigh guards), 95A gives enough rigidity to look like armor while still flexing on impact.
85A is softer. Better for joints, undersuits, and any piece that contacts skin directly. The softer material prevents chafing during 8+ hours of convention wear. Requires direct drive and slow speeds (15–25 mm/s). Worth the slower print time for comfort-critical pieces.
PEBA is the next-generation option. 15–20% lighter than TPU, better rebound, wider temperature tolerance (−40°C to +80°C). If weight is your biggest concern (and it becomes one after 6 hours in armor), PEBA saves meaningful grams on large builds. More expensive and harder to source, but worth considering for full-body builds.
TPU Aero is a lightweight foaming formulation that significantly reduces part density. Good if you're producing multiple armor sets or large surface-area pieces where the reduced weight makes them much more comfortable to wear.
There's also colorFabb varioShore TPU, which foams at higher temperatures. At 190–200°C it prints as a normal 92A TPU. At 200–250°C it expands up to 1.6x and drops to Shore 55A with a foam-like density of 0.7–0.9 g/cm³. For large armor plates where weight matters most, the foamed version produces EVA-foam-like results from a 3D printer.
Print settings
| Setting | 95A armor plates | 85A joint pieces |
|---|---|---|
| Speed | 25–40 mm/s | 15–25 mm/s |
| Nozzle temp | 225–235°C | 220–230°C |
| Bed temp | 50–60°C | 40–50°C |
| Retraction | 0.5–2 mm, 15 mm/s | 0.5–1 mm, 10 mm/s |
| Layer height | 0.15–0.2 mm | 0.1–0.15 mm |
| Cooling fan | 100% | 100% |
Layer height matters more for cosplay than for functional prints because you can't sand TPU. Sandpaper bounces off or makes the surface fuzzy instead of smooth. Whatever layer lines you print with are the ones you're painting over. I use 0.1mm for visible surfaces and 0.2mm for internal or hidden areas to save time.
The Plus4 handles armor-scale TPU prints well. The 305mm build volume fits most torso armor pieces in a single print. Dry your TPU before printing. Wet flexible filament produces stringing, popping, and weak layer bonds. All of which ruin surface quality on cosplay pieces where appearance is the whole point.
Combining rigid and flexible
The best cosplay armor isn't all-TPU or all-PLA. It's both. Rigid PLA or PETG for the main structural plates (chest, back, helmet) and TPU for joints, connectors, and anywhere the armor needs to bend.
Print the parts separately and assemble mechanically. Trying to multi-material print TPU and PLA together is frustrating because the materials don't bond chemically. Cura 5.3+ has an interlocking structure feature that helps, but for most cosplayers, separate prints with snap or buckle connections are simpler and more reliable.
A technique covered on Hackaday creates flexible scale panels by printing rigid tiles on tulle fabric. You print three layers of tiles, pause the print, lay tulle (fine nylon mesh) on the build plate, then resume. The tiles fuse to the fabric through the mesh, creating a chain-mail-like sheet that flexes naturally. Works well for sleeves and areas that need to drape. Limited to relatively flat body areas and prints that fit on your build plate.
Painting and weathering TPU
Standard acrylic paint cracks and peels on TPU. The surface flexes and the paint can't keep up. You need paints designed for non-porous, flexible surfaces.
Angelus leather paint is the cosplay community's top recommendation for TPU. It's water-based acrylic formulated for shoes. Bonds to non-porous flexible surfaces, stays flexible after drying, works with an airbrush for thin coats. Multiple thin coats rather than one thick coat. Let each coat dry fully before the next.
Plasti Dip works as a rubberized base coat. It fills layer lines partially, can be sanded lightly, and provides a flexible substrate for paint. Two thin coats of Plasti Dip followed by Angelus paint gives a durable, flexible finish.
Weathering
Weathering is what makes cosplay armor look real instead of plastic. Two techniques from the 405th community's weathering guide:
Acrylic wash: mix black or brown acrylic paint 1:5 with water. Apply liberally over the entire surface, then wipe excess from raised areas with a rag. The diluted paint settles in crevices and panel lines, creating depth and shadow. Takes five minutes and changes the look completely.
Dry brushing: dip a flat brush lightly in silver or metallic paint. Wipe most of it off on a paper towel. Then drag the nearly-dry brush across edges and corners. The tiny amount of remaining paint catches only on raised surfaces, creating a worn-metal effect. The Punished Props dry brush tutorial has a step-by-step walkthrough. Focus on edges and corners where real armor would contact other surfaces. The surface finishing guide covers sanding and coating techniques that apply to rigid armor pieces, and the post-processing overview has additional finishing methods.
Attaching armor to your body
I've tried four attachment methods. Here's what works:
Velcro (most versatile): 1.5" wide velcro strips on the armor interior, matching strips sewn onto an undersuit or base layer. Easy on/off, repositionable, washable. Use the hook side on the armor (it's stiffer) and the loop side on fabric. Ten-inch strips at anchor points (shoulders, sides, hips).
Snap buckles (most secure): heavy-duty snaps with the male end glued to the armor using shoe goo or fiberglass adhesive. Female end punched into the undersuit fabric. Prevents shifting during movement. Makes spacing permanent. Takes more setup time but produces the most professional result.
Quick-release buckles with nylon webbing: good for thigh armor, shoulder pieces, and belt-mounted items. Adjustable, easy to remove, available at any outdoor gear store. Tighten for combat poses, loosen when you need to sit.
A combination approach works best. Snaps for primary hold, velcro for fine-tuning position, and padding foam between armor and skin to prevent chafing during a full convention day.
Convention survival
TPU armor has one massive advantage at conventions: it doesn't break during transit. I've rolled TPU armor pieces, stuffed them into luggage, and sat on them in the car. They spring back to shape. PLA armor travels in custom foam-lined cases or it arrives in pieces.
Convention weapon check policies generally work in TPU's favor. Staff doing safety inspections can feel immediately that TPU armor flexes. It's obviously not rigid, not sharp, and not a hazard to other attendees. PLA shoulder pauldrons in a crowded artist alley can poke people. TPU gives way on contact.
Most conventions allow 3D printed cosplay components as long as props are clearly non-functional. GalaxyCon, NYCC, and MCM Comic Con all permit 3D printed items. Sharp points need to be rounded. No swinging or mock fighting with props. TPU naturally rounds its edges due to material softness.
Add ventilation holes in armor sections that sit against the body. Conventions are hot. Eight hours in unventilated plastic armor produces real overheating risk. TPU's flexibility allows thin, perforated designs that wouldn't be structurally viable in rigid PLA.
For free armor STLs, GamerForge's Mandalorian set on Printables includes helmet, chest, shoulders, arms, legs, jetpack, and blaster. All free. Most armor STLs are designed for rigid filament, so for TPU you'd print the joint sections and connectors in TPU while keeping main plates in PLA or PETG. For more TPU printing tips and settings, the TPU phone case guide and furniture feet guide use the same material at similar shore hardnesses. And for the smoothing and finishing of rigid ABS armor plates, the acetone smoothing guide applies directly. Browse the full filament lineup for TPU, PEBA, and rigid material options.
Frequently asked questions
Is TPU armor heavier than EVA foam?
Yes. Solid TPU is roughly 1.2 g/cm³ versus 0.086 g/cm³ for high-density EVA foam. That's about 14x denser. For large surface-area pieces (full chest plates, full leg guards), the weight difference is noticeable over a full convention day. Consider TPU for smaller functional pieces (joints, connectors, straps) and EVA or lightweight PLA for large panels. ColorFabb varioShore TPU narrows the gap significantly when foamed (0.7–0.9 g/cm³).
Can I sand TPU smooth?
Not effectively. TPU bounces under sandpaper rather than abrading. Aggressive sanding makes the surface fuzzy. Print at the finest layer height you can tolerate (0.1mm for visible surfaces) and rely on flexible primer and paint to smooth the appearance. Plasti Dip fills minor layer lines.
How do I bond TPU pieces together?
Shoe goo (a flexible urethane adhesive) bonds TPU to itself and to other materials. E6000 works too. Regular CA glue (super glue) doesn't bond TPU reliably because the surface is too flexible. For mechanical joints, design snap connections, use bolts through printed holes, or sew TPU pieces to fabric with a leather needle.
Will TPU armor hold paint through a convention day?
With proper prep, yes. Angelus leather paint on TPU survives flexing, body heat, handling, and sweat without cracking or peeling. Skip the prep and use regular acrylics, and paint will chip off within the first hour. The finish-work steps take time but determine whether the armor looks good at 9 AM or all day.
- Why TPU for armor
- Choosing shore hardness
- Print settings
- Combining rigid and flexible
- Painting and weathering TPU
- Weathering
- Attaching armor to your body
- Convention survival
- Frequently asked questions
- Is TPU armor heavier than EVA foam?
- Can I sand TPU smooth?
- How do I bond TPU pieces together?
- Will TPU armor hold paint through a convention day?
Recommended products