Q2
Q2
 QIDI Box
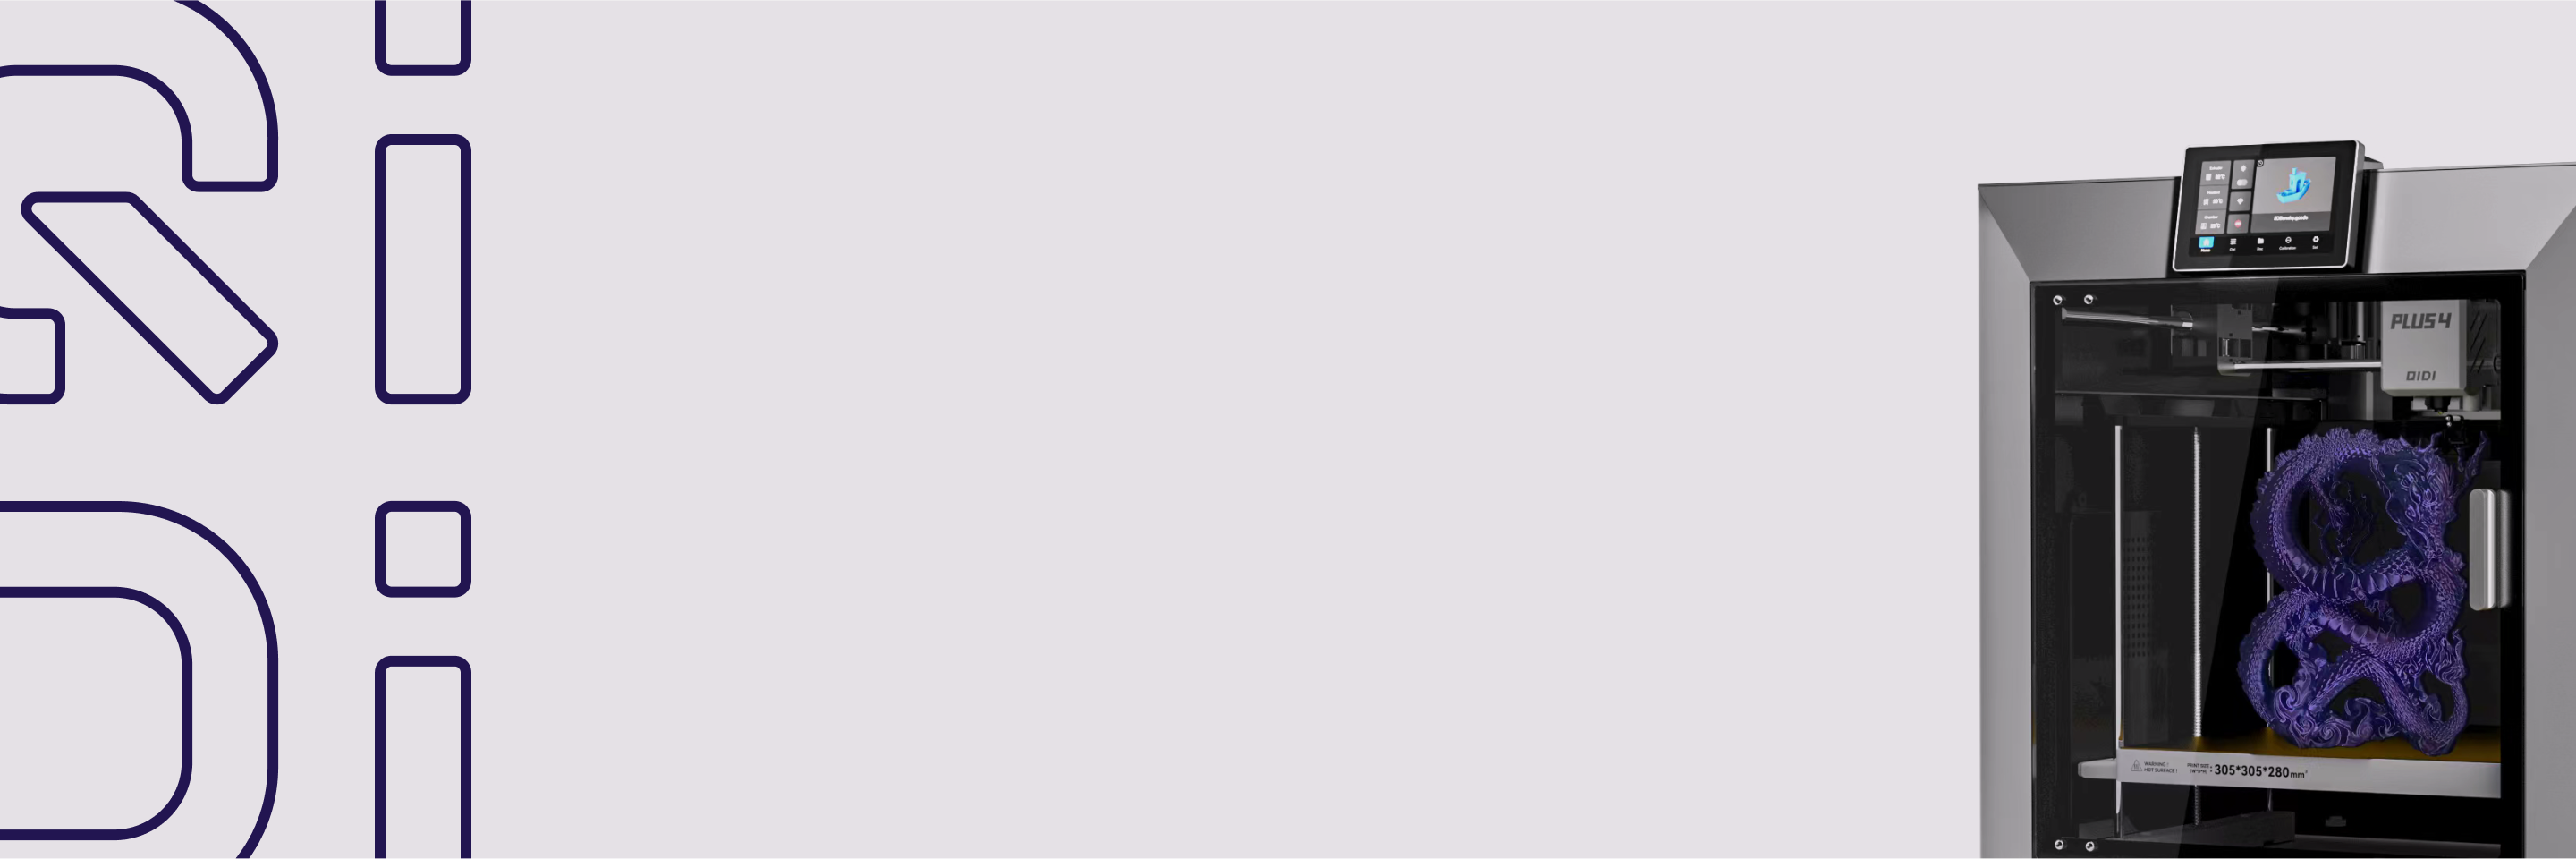
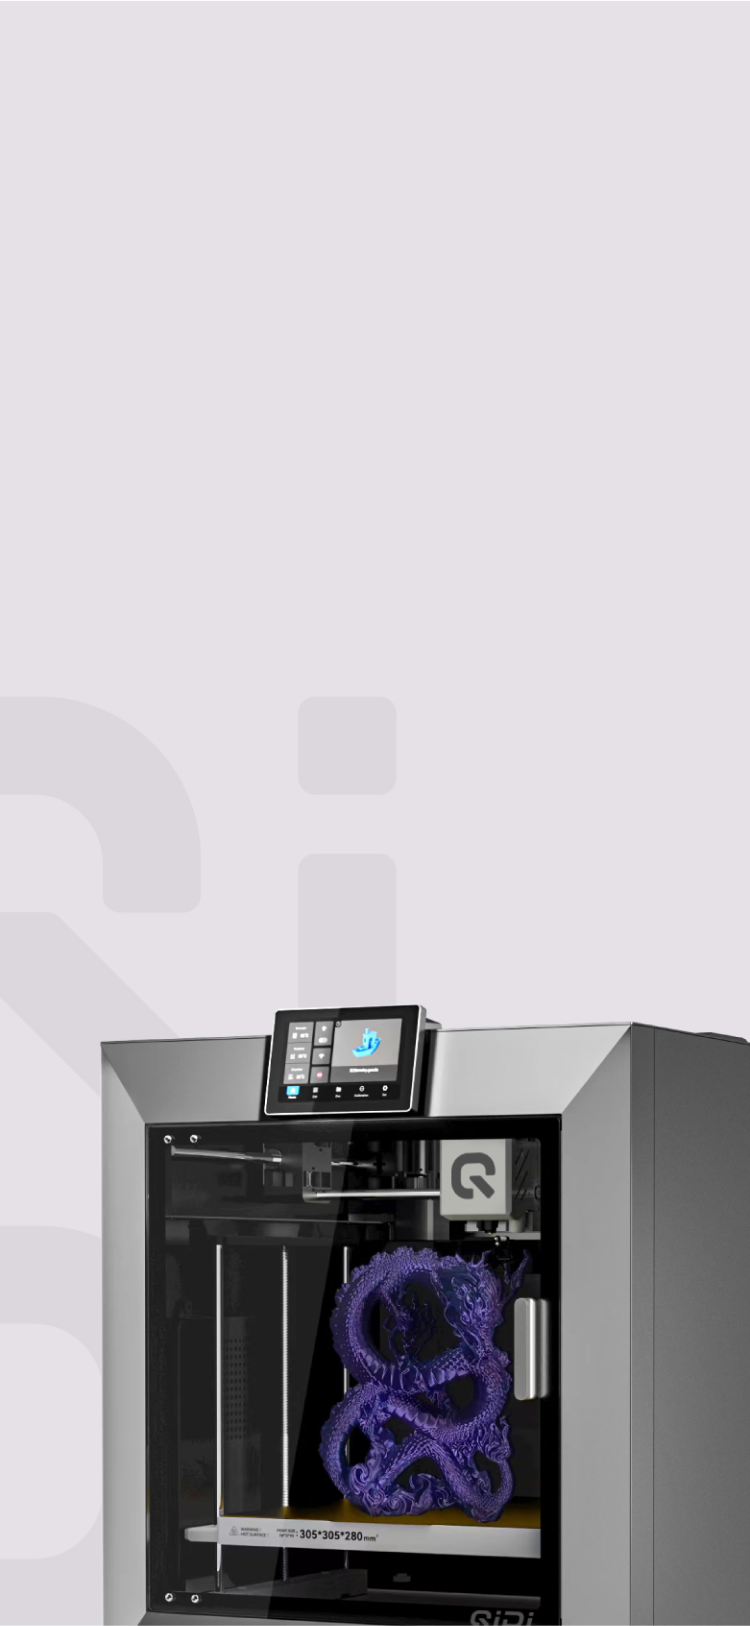
 Plus 4
 Q1 Pro
 X-Max 3


Why Is My 3D Print Not Sticking to Bed?


If your 3D print is not sticking to the bed, the problem is usually not the filament alone. Poor first-layer adhesion is often caused by incorrect Z-offset, a dirty build plate, the wrong bed temperature, incorrect slicer settings, too much early cooling, drafts, or wet filament. The first layer is critical because every layer above it depends on that foundation. If it does not bond well, corners can lift, the nozzle can drag the part, and the print may fail before completion.
Common Reasons a 3D Print Won’t Stick to the Bed
Poor bed adhesion is usually caused by a few common first-layer problems, from incorrect nozzle height to an unclean build surface.
The Nozzle Is Too Far from the Bed
When the nozzle is too high, the filament lands on the plate instead of being gently pressed into it. That usually leads to weak bonding and easy lift-off. This is one of the most common causes of a 3D print not sticking to the bed. In most cases, the first-layer lines look round rather than slightly flattened, with visible gaps between them, and they may peel up easily even when the bed is heated.
The Build Plate Is Dirty
Finger oils, dust, leftover adhesive, and residue from previous prints can all reduce grip. A plate can look clean and still have enough oil on it to cause first-layer failure. That is why surface cleaning should always come before deeper troubleshooting. In many cases, users start adjusting temperatures and speeds when the real problem is simply contamination on the print surface.
Bed Temperature Is Incorrect
If the bed is too cool, the filament may not grip the surface well enough during the first layer. If the bed is too hot, you can get bottom-layer distortion, elephant’s foot, or overly strong adhesion on some material-surface combinations. The right bed temperature depends on the filament type, the build surface, and the printer profile you are using, so it is best to treat temperature as a starting range rather than a fixed rule.
The Plate Type or Slicer Settings Are Wrong
On modern printers, the hardware may be fine while the slicer setup is wrong. If the selected plate type does not match the actual surface installed on the printer, the effective first-layer height can be off enough to cause adhesion failure. material profile mismatches can create the same problem, especially when first-layer height, speed, bed temperature, or early cooling settings do not match the filament and surface being used.
Cooling or Drafts Are Too Strong
Too much cooling too early can stop the filament from bonding properly. Strong airflow around the printer can also cause corners to lift, especially with materials that shrink more as they cool. This is why PLA is usually easier to manage than ABS or ASA, which are much more sensitive to drafts and unstable room temperatures.
The Filament Is Wet
Moisture can make first-layer behavior inconsistent even when everything else seems correct. If the plate is clean and the Z-offset looks right, but adhesion still changes from print to print, wet filament is worth checking. This is especially important for materials that absorb moisture more easily, since poor extrusion consistency can show up as weak or messy first layers.
How to Diagnose 3D Print Bed Adhesion Problems
The first layer usually tells you what is going wrong. By looking closely at how the filament lays down, you can often tell whether the issue comes from nozzle height, temperature, airflow, or the build surface itself.
If the First-Layer Lines Are Separated
This usually means the nozzle is too high. The lines often look thin and round, with visible gaps between them, and they do not fuse into a solid first layer. In that case, lowering the Z-offset slightly and rerunning a small first-layer test is usually the best next step.
If the Corners Lift but the Center Stays Down
This usually points to shrinkage, insufficient heat retention, or airflow issues rather than simple bed contamination. It is especially common with ABS and ASA, which need higher bed temperatures and a more stable printing environment. If this happens, it is worth checking for drafts, reviewing the cooling settings, and deciding whether the material would benefit from an enclosure or a brim for extra edge support.
If the Print Sticks Too Hard
This is not always a sign that the first layer is correct. Sometimes the material and surface combination is simply too aggressive. PETG on smooth PEI is a common example, since it can bond too strongly and become difficult to remove safely. In that case, the issue is not weak adhesion but excessive adhesion caused by the wrong surface choice or the lack of a release layer.
If the First Layer Looks Too Squashed
This usually means the nozzle is too low, the bed is too hot, or both. You may notice smeared bottom lines, elephant’s foot, or filament being pushed outward instead of laid down cleanly. A small Z-offset increase or a slight bed temperature reduction often improves the result.
How to Fix a 3D Print That Won’t Stick to the Bed
Once you know what is likely causing the issue, work through the fixes in a practical order, starting with the most common and easiest adjustments.
Clean the Build Plate
Start here before adding glue or changing multiple settings at once. In many cases, proper cleaning solves the problem immediately. Use the cleaning method that matches your build surface, and avoid touching the print area after cleaning it.
Check the Plate Type in the Slicer
If the slicer has the wrong plate selected, the first layer can fail even when the machine is mechanically fine. Make sure the selected plate matches the one installed, and confirm that the material profile, bed temperature, and first-layer settings all come from the correct preset.
Adjust the Z-Offset
The most reliable time to tune Z-offset is while the first layer is printing. Make small adjustments and watch how the filament lays down. The goal is a slightly flattened, connected first layer that bonds well without looking overly squashed.
Set the Right Bed Temperature
Use recommended ranges as a starting point, then fine-tune based on the filament, surface, and print behavior. Bed temperature should support adhesion, not compensate for every other setup issue.
Typical heated-bed starting ranges:
- PLA: around 50–60°C
- PETG: around 70–90°C
- ABS/ASA: around 95–110°C
- TPU: often around 50–75°C, depending on profile and hardness
Slow Down the First Layer
A slower first layer gives the filament more time to bond to the surface. This is usually more reliable than using a fixed percentage of your normal print speed, since printers vary so much in baseline speed. If the first layer is failing, reducing the first-layer speed is often one of the simplest and most effective adjustments.
Reduce Cooling for the First Few Layers
For many materials, the first layer does not need strong active cooling. Lower cooling in the early layers can help reduce detachment and improve edge stability. This becomes especially important when printing materials that warp more easily or when the room environment is not well controlled.
Use Glue, Brim, or Raft Only When Needed
Adhesion aids can be useful, but they should not be treated as the first solution to every bed adhesion problem. They work best when the basic setup is already correct, and you only need extra support, such as better edge stability on large flat models, added resistance to corner lift, or a release layer for material-surface combinations that may bond too aggressively.
Best Bed Settings for PLA, PETG, ABS, and TPU
Different filaments behave differently on the build plate, so it is important to avoid treating all materials the same way. The best results usually come from matching the material, the surface, and the temperature profile correctly.
PLA Bed Adhesion Tips
PLA is usually the easiest common filament for bed adhesion. It has relatively low warping and often prints well at around 50–60°C bed temperature on heated platforms. If PLA is not sticking, the first things to check are usually plate cleanliness, Z-offset, and first-layer speed rather than unusual fixes.
PETG Bed Adhesion Tips
PETG needs more care than PLA because it can either stick too weakly or too strongly, depending on the surface. PETG can bond too aggressively to smooth PEI, which is why textured or satin-style surfaces are typically safer choices, or a release layer is used on smooth PEI.
ABS and ASA Bed Adhesion Tips
ABS and ASA are much more sensitive to drafts and thermal instability. They usually need a hotter bed and a more stable environment than PLA or PETG. If the corners lift, increasing bed temperature alone may not be enough; reducing airflow and using an enclosure are often just as important.
TPU Bed Adhesion Tips
TPU should not automatically be treated as a material that always needs glue. The real priority is using the correct profile, matching the plate type, and keeping the first layer controlled. On the wrong surface, TPU can stick too aggressively, so balance matters just as much as adhesion strength.
FAQ About 3D Print Bed Adhesion
Q1: Why Is My 3D Print Not Sticking to the Bed Even After Auto Bed Leveling?
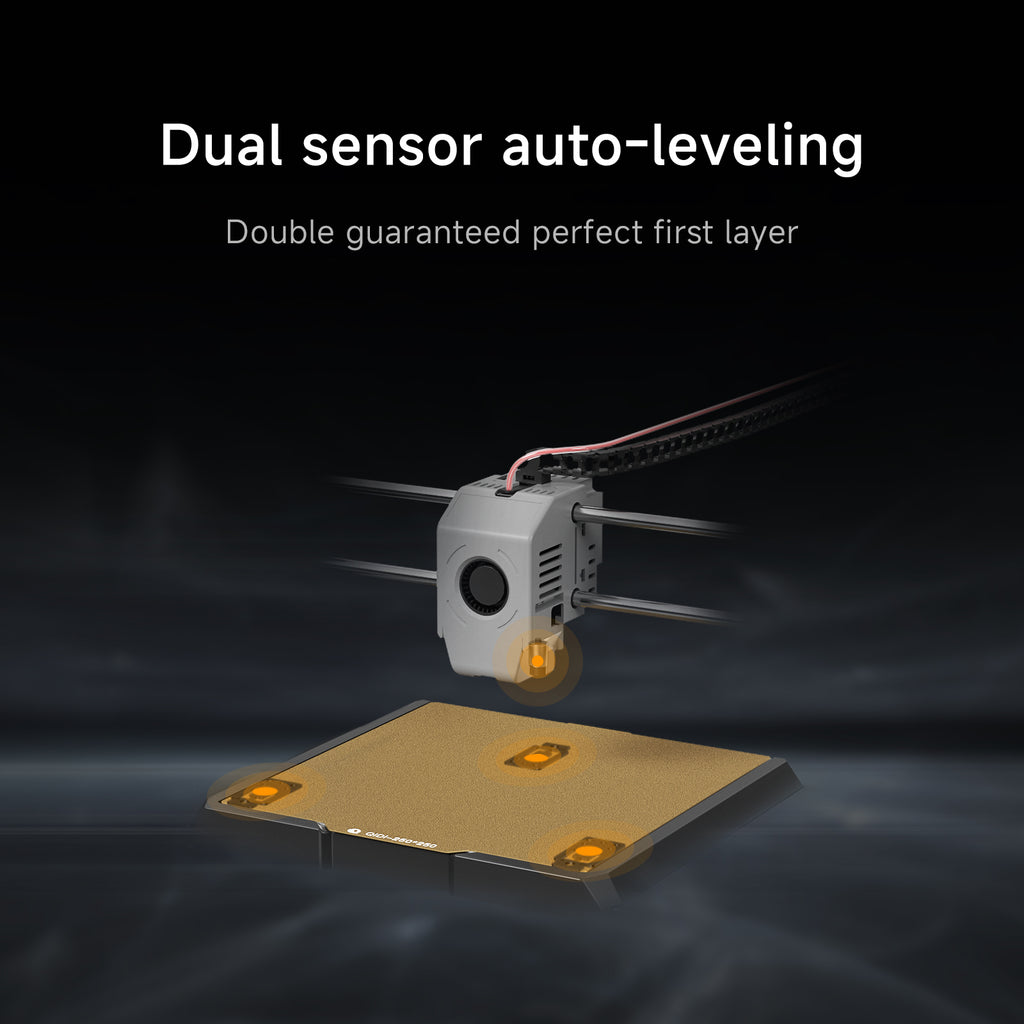
Auto bed leveling does not guarantee that the effective first-layer height is correct. A wrong Z-offset, a dirty plate, the wrong plate type in the slicer, or the wrong material profile can still cause adhesion problems.
Q2: Should I Use Glue Stick for PETG?
Sometimes, but not always to increase adhesion. On smooth PEI, a glue stick is often used as a release layer to prevent PETG from bonding too aggressively and damaging the surface.
Q3: Does TPU Need Glue?
Not by default. In many cases, glue is not required, and on textured PEI, it may even cause excessive adhesion.
Q4: What Should I Check First When PLA Is Not Sticking?
Clean the plate and verify Z-offset before changing anything else. PLA is usually forgiving, so a dirty surface or incorrect first-layer height is often the real cause.
Get Better First-Layer Adhesion with the Right Setup
Most bed adhesion problems can be solved once you work through the setup in the right order. Start by cleaning the build plate, confirming the correct plate setting in the slicer, adjusting Z-offset during the first layer, checking bed temperature, slowing the first layer, and reducing early cooling if needed. Once those basics are correct, adhesion aids like glue, brims, or rafts can be used more effectively. Follow this process, and you will be much more likely to get a clean, stable first layer and more reliable prints overall.
- Common Reasons a 3D Print Won’t Stick to the Bed
- The Nozzle Is Too Far from the Bed
- The Build Plate Is Dirty
- Bed Temperature Is Incorrect
- The Plate Type or Slicer Settings Are Wrong
- Cooling or Drafts Are Too Strong
- The Filament Is Wet
- How to Diagnose 3D Print Bed Adhesion Problems
- If the First-Layer Lines Are Separated
- If the Corners Lift but the Center Stays Down
- If the Print Sticks Too Hard
- If the First Layer Looks Too Squashed
- How to Fix a 3D Print That Won’t Stick to the Bed
- Clean the Build Plate
- Check the Plate Type in the Slicer
- Adjust the Z-Offset
- Set the Right Bed Temperature
- Slow Down the First Layer
- Reduce Cooling for the First Few Layers
- Use Glue, Brim, or Raft Only When Needed
- Best Bed Settings for PLA, PETG, ABS, and TPU
- PLA Bed Adhesion Tips
- PETG Bed Adhesion Tips
- ABS and ASA Bed Adhesion Tips
- TPU Bed Adhesion Tips
- FAQ About 3D Print Bed Adhesion
- Q1: Why Is My 3D Print Not Sticking to the Bed Even After Auto Bed Leveling?
- Q2: Should I Use Glue Stick for PETG?
- Q3: Does TPU Need Glue?
- Q4: What Should I Check First When PLA Is Not Sticking?
- Get Better First-Layer Adhesion with the Right Setup
Recommended products