Q2
Q2
 QIDI Box
 Plus 4
 Q1 Pro
 X-Max 3


3D Printing Bridging Explained: From Problem to Solution

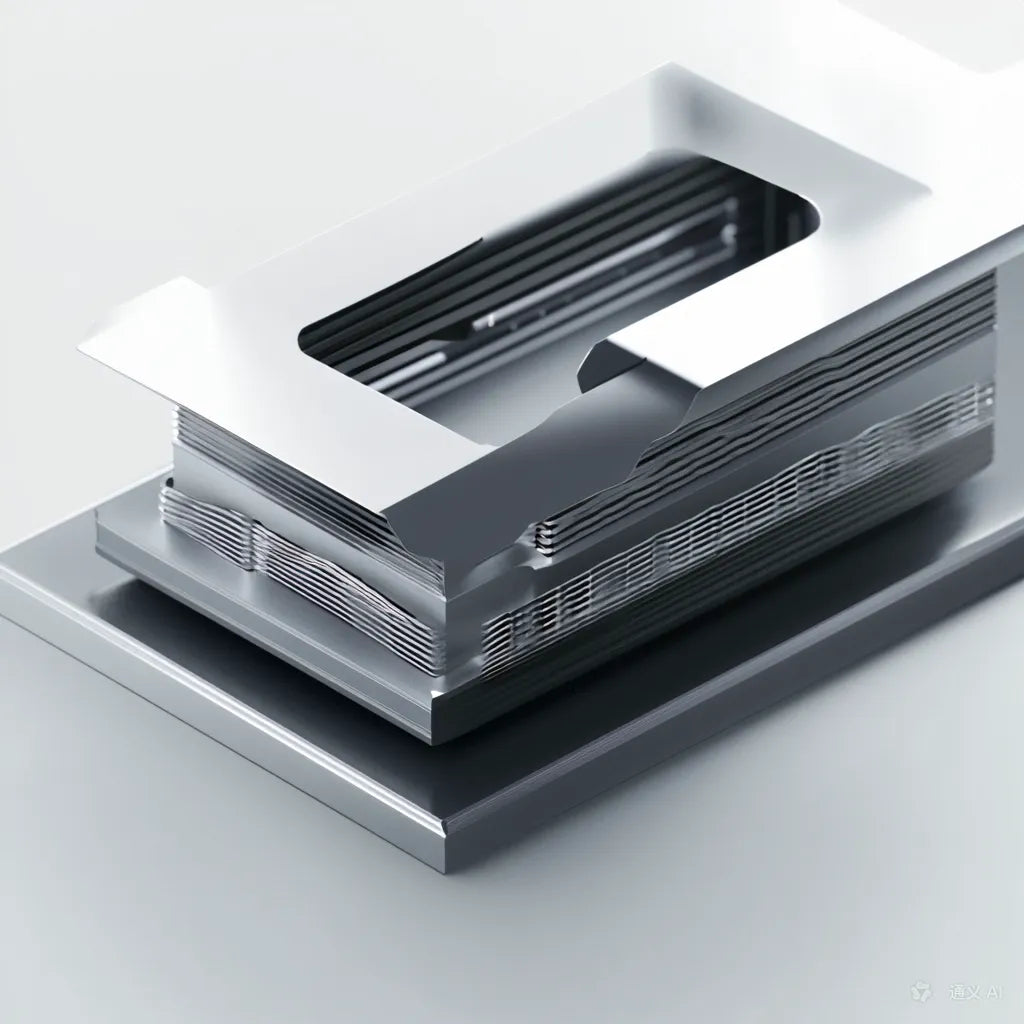
Bridging is the act of extruding filament horizontally across an open gap with nothing underneath it, relying on the strand cooling and stiffening in mid-air before gravity pulls it down. I get clean bridges by dropping bridge speed to 20–30 mm/s, setting bridge flow ratio to 0.80–0.90, and forcing the part cooling fan to 100% on that layer.
That three-setting combination fixes most sagging bridges on the first try. The rest of this guide covers what to change when it doesn't, with a symptom table you can scan while the print is still on the plate.
What Bridging Is in 3D Printing
Bridging is the technique an FDM printer uses to span a horizontal gap between two anchor points without printing support material underneath. A bridge is any unsupported horizontal span: the roof of a hole, the top of a doorway in a printed enclosure, the underside of a shelf.
Mechanically it works like this. The nozzle anchors the strand on one wall, crosses the void while still extruding, and lands on the far wall. Because the strand is under tension from the moving toolhead, it stays straight — as long as it solidifies faster than it sags. Subsequent layers then bond on top and stiffen the whole span.
The entire problem is a timing race. The plastic has to leave the nozzle hot enough to bond to both anchors, then cross below its glass transition before it droops. Every setting below is either slowing the strand down so it has more time in the airstream, or speeding up the cooling.

Bridging Settings: Starting Values That Work
The four settings that decide bridge quality are bridge speed, bridge flow ratio, part cooling fan speed, and layer height. Here are the values I start every new material at, plus where to find each field in a typical slicer.
| Setting | Typical slicer field | Starting value | Condition / notes |
|---|---|---|---|
| Bridge speed | Speed → Bridges | 20–30 mm/s | Spans under 20 mm tolerate 40–50 mm/s; spans over 60 mm want the low end |
| Bridge flow ratio | Quality → Bridge flow ratio | 0.80–0.90 | Under-extruding on purpose keeps the strand thin and light so it sags less |
| Part cooling fan on bridge layer | Cooling → Bridges fan speed | 100% for PLA and PETG | ABS and ASA start at 0% and rise in 10% steps only if sagging persists |
| Layer height | Quality → Layer height | 0.10–0.20 mm | Thinner layers weigh less per unit length, so they hold their line better |
| Bridge extrusion width | Quality → Bridge line width | 110–120% of nozzle diameter | 0.44–0.48 mm on a 0.4 mm nozzle; wider strands touch each other and skin over |
| Nozzle temperature | Filament → Nozzle temperature | Low end of the material range | PLA from 190 °C, PETG from 230 °C; raise in 5 °C steps if strands snap |
| Support threshold | Support → Overhang threshold | Span > 50 mm or overhang steeper than 45° | Below that, print it as a bridge and skip the support scars |
Change one value at a time. If you drop speed, drop flow, and crank the fan simultaneously and the bridge improves, you learn nothing about which one mattered on your machine.
Bridging Problem Diagnostic Table
Use this table to move from what you can see on the part to the setting that caused it. Each row is a single symptom, the most likely cause, a way to confirm it, and the fix.
| Symptom on the print | Most likely cause | How to confirm | Fix |
|---|---|---|---|
| Bridge dips in the middle, ends are fine | Strand still soft when it crossed the centre | Sag scales with span length — short bridges on the same part look fine | Bridge speed to 20 mm/s, fan to 100%, bridge flow to 0.85 |
| Every bridge droops, even 15 mm ones | Nozzle temperature too high | Strands look glossy and stay flexible for a second after landing | Drop nozzle 10 °C, then 5 °C at a time until edges stay crisp |
| Strands break mid-span, visible gaps between them | Bridge flow too low, or partial clog | Do a 100 mm manual extrusion; short output means a feed problem, not a setting | Raise bridge flow to 0.95, or clear the hot end — see the nozzle jam fix |
| Cobwebs and fine threads hanging under the bridge | Retraction and travel settings, not bridging | Threads appear on travel moves elsewhere on the part too | Tune retraction distance and speed; full method in the stringing guide |
| Wavy, accordion-like bridge surface | Frame vibration or uneven fan coverage | Waves line up with the X or Y axis; rotating the part 45° changes the pattern | Check belt tension and mounting screws, then reduce acceleration |
| Bridge edges curl upward off the anchors | Differential cooling stress at the anchor points | Worse with ABS or ASA, worse in a draft, worse on tall parts | Raise bed temperature 5–10 °C for the first layers, add a brim, print enclosed |
| Alternating thick and thin strand sections | Inconsistent extrusion — filament diameter or worn nozzle | Measure filament with calipers at five points; variation over ±0.05 mm is the culprit | Replace the nozzle, correct filament diameter in the slicer, run an extruder calibration |
| Bridge looks straight but snaps under light load | Too few solid layers over the span, or wet filament | Snapped face looks foamy or shows bubbles; filament may have hissed while printing | Add 1–2 solid top layers over the bridge and dry the filament |
| First bridge layer is clean, the layer above is rough | Normal — the second layer is printing onto a slightly uneven surface | Roughness disappears two or three layers up | Leave it, or add a solid layer and reduce speed for the layer directly above the bridge |
| Whole span collapses onto the part below | Anchor on one side is too small or the model has no real anchor | Look at the sliced preview: one end of the bridge starts in open air | Rotate the model, or add supports — this span is not a bridge |
How Long a Bridge Can Actually Be
A well-tuned FDM printer bridges roughly 20 mm with no visible sag, 20–50 mm with slight sag that vanishes after two solid layers, and beyond 50 mm the result depends heavily on material and cooling. Prusa's knowledge base makes the same point qualitatively, noting that the best bridging results are achieved over short distances and that very long spans are better broken up with a support enforcer half way across.
| Span length | What to expect | What I change |
|---|---|---|
| Under 20 mm | Clean on default settings | Nothing — bridge speed can stay at 40–50 mm/s |
| 20–50 mm | Slight centre sag, hidden after 2 solid layers | Bridge speed 25–30 mm/s, fan 100%, flow 0.85 |
| 50–80 mm | Visible sag; surface finish underneath is compromised | Bridge speed 20 mm/s, thinner layer (0.12 mm), consider splitting the span |
| Over 80 mm | Unreliable without help | Add a support pillar mid-span, or redesign the feature |
These are working ranges, not hard limits. A machine with strong, well-directed part cooling and a stable frame beats those numbers; a machine printing in a warm enclosure with the fan off will not reach them. The point is to know roughly where your setup falls so you can design around it instead of reprinting five times.
Material Behaviour: PLA vs PETG vs ABS
PLA is the easiest material to bridge because it solidifies quickly and tolerates full-speed cooling. ABS is the hardest, because the cooling that would straighten the bridge is exactly what causes the layer splitting and warping the material is known for.
| Material | Nozzle temperature | Bridge fan | Bridging difficulty | Main failure mode |
|---|---|---|---|---|
| PLA | 190–220 °C | 100% | Easy | Rarely fails; over-cooling can cause brittle anchors |
| PETG | 230–250 °C | 100% on bridge layer only | Moderate | Stringing across the span rather than sagging |
| ABS / ASA | 220–250 °C | 0% baseline, raise in 10% steps | Hard | Sagging if fan stays off, layer separation if fan goes too high |
ABS and ASA are the case where the printer itself decides the outcome. A heated chamber holds the whole part near the material's softening range so the bridge cools evenly instead of contracting hard against a cold anchor. Machines such as the Plus 4 and Max4 run an actively heated chamber at 60–65 °C for exactly this reason, which is also why you can leave the part fan lower on those machines without paying for it in sag. If you want the background, we cover it in what a temperature-controlled chamber does.
How to Tune Bridging Step by Step
Tune bridging with a dedicated test model rather than the real part, and change one variable per print. A small bridge torture test takes ten minutes; a failed 6-hour part teaches you the same thing much more expensively.
1. Slow the bridge move down
Set bridge speed to 20–30 mm/s. This is the single highest-impact change. A slower toolhead gives the strand more seconds in the fan's airstream before it has to hold its own weight. Short bridges under 20 mm can stay faster — you'll be fighting print time for no visual gain.
2. Drop the nozzle temperature
Start at the bottom of the material's range: 190 °C for PLA, 230 °C for PETG. Colder plastic stiffens sooner. If you start seeing gaps between strands or the bridge peeling off its anchors, raise in 5 °C increments until it stops. A temperature tower prints the whole range in one go and is worth the half hour.
3. Force the fan to 100% on the bridge layer
For PLA and PETG, set the bridge fan override to 100%. For ABS and ASA the fan starts at 0% and only comes up if the sag is unacceptable, because aggressive cooling on those materials causes layer separation. Also check that your fan duct actually points at the nozzle tip — a duct knocked out of alignment during a nozzle change is a common cause of bridges that suddenly got worse.
4. Set bridge flow to 0.80–0.90
Find the bridge flow ratio field and set it to 0.80–0.90 of normal flow. Deliberate under-extrusion makes each strand lighter, which means less sag, and it stops the strands from ballooning where they land. If the strands stop touching each other and you can see through the bridge, come back up to 0.95.
5. Go thinner on layer height and wider on line width
Try 0.10–0.20 mm layers for bridged geometry, and set bridging line width 10–20% above nozzle diameter. Thinner layers weigh less; wider lines merge into a skin instead of sitting as separate ropes. On a standard 0.4 mm nozzle that means roughly 0.44–0.48 mm bridge width.

Machine-Side Causes That Look Like Bad Bridging
Some bridge defects are not bridge settings at all — they are motion or extrusion faults that only become visible on unsupported spans. A wavy bridge surface, for example, is usually vibration.
- Loose belts or a flexing frame produce ripples that line up with an axis. If you also see stair-stepping elsewhere on the part, work through the layer shifting checklist first.
- Uncalibrated extrusion gives alternating thick and thin strands. Run an extruder calibration before blaming bridge flow — our calibration walkthrough covers the procedure.
- High acceleration makes the toolhead overshoot at the far anchor. Input shaping helps here; Klipper's resonance compensation docs describe the tuning-tower method for finding a usable acceleration limit.
- A worn or partially clogged nozzle changes effective flow mid-print. Swap in a fresh nozzle from the hot end and nozzle range if the part has hundreds of hours on it.
- Wet filament foams as it extrudes, and a foamed strand has no tensile strength across a span. Dry it before you touch any slicer setting.
Design Changes That Beat Any Slicer Setting
The most reliable way to fix a difficult bridge is to remove it from the model. Three changes take minutes in CAD and cost nothing in print time.
Split the span. Add a small pillar in the middle of a long bridge and two 80 mm bridges become four 40 mm ones. On a functional part the pillar is usually acceptable; if it isn't, model it as a sacrificial feature and snip it off.
Rotate the part. A 45° rotation often converts an unsupported horizontal span into a self-supporting overhang. This also changes which direction the layer lines run, which matters for strength.
Chamfer or arch the opening. Replace a flat-topped hole with a teardrop or a 45° chamfered top and the printer never has to bridge at all. This is standard practice for horizontal bolt holes in printed brackets.
When none of that works, use supports deliberately rather than as a default. Our support setup guide covers where to place enforcers so you don't scar the visible face. Filament choice matters here too — a dedicated interface material from the filament range releases far more cleanly than same-material supports.

A 10-Minute Bridging Test Routine
Print a bridge test model with spans from 10 mm to 80 mm, then read it like a ruler. Whichever span is the last clean one is your machine's practical bridging limit with that material and those settings.
- Slice the test at your normal profile, no bridge overrides. Print it. Note the last clean span.
- Set bridge speed to 25 mm/s and bridge fan to 100%. Reprint. Note the new limit.
- Set bridge flow to 0.85. Reprint. If the strands stopped touching, go back to 0.95.
- Drop nozzle temperature 10 °C. Reprint. If gaps or anchor peeling appear, add 5 °C back.
- Write down the winning profile per material. Bridging settings are material properties, not printer properties.
The RepRap calibration wiki is a good reference if you want to expand this into a wider calibration routine covering flow, dimensional accuracy, and retraction at the same time. And if bridging is only one of several defects you're chasing, start from the general troubleshooting guide and come back here once you've isolated the bridge as the problem.
Frequently Asked Questions About Bridging
What speed should I print bridges at?
Start at 20–30 mm/s. Spans shorter than 20 mm print cleanly at 40–50 mm/s, and spans over 60 mm want the bottom of the range. Bridge speed is a separate field from your normal print speed in every mainstream slicer, so slowing bridges down costs very little total print time.
How long can a 3D printer bridge without supports?
Roughly 20 mm with no visible sag and up to about 50 mm with sag that disappears under two solid layers. Beyond 80 mm you need a mid-span support pillar or a design change. Strong, well-aimed part cooling extends these numbers; a hot enclosure with the fan off shortens them.
Why do my bridges sag in the middle?
The strand is still soft when it reaches the centre of the span. The three fixes in order of impact are: lower bridge speed to 20–30 mm/s, run the part cooling fan at 100% on the bridge layer, and drop the nozzle temperature by 10 °C. Reduce bridge flow to 0.85 if sag persists.
Should the cooling fan be at 100% for bridging?
Yes for PLA and PETG. For ABS and ASA, no — start at 0% and raise in 10% steps only if sagging is unacceptable, because heavy cooling on those materials causes layer separation and warping. Most slicers have a separate "bridges fan speed" override so you can run 100% on bridge layers only.
What is bridge flow ratio and what should I set it to?
Bridge flow ratio scales extrusion volume on bridge moves relative to normal moves. Set it to 0.80–0.90. Deliberately extruding less makes each unsupported strand lighter and less prone to sag. If the strands stop touching each other and light shows through the bridge, raise it to 0.95.
Does raising nozzle temperature help bridging?
Usually the opposite. Hotter plastic stays soft longer in mid-air and sags more. Print bridges at the low end of the material's range — 190 °C for PLA, 230 °C for PETG — and only raise in 5 °C steps if strands are snapping or failing to bond at the anchors.
Can you bridge with PETG?
Yes. PETG bridges well at 230 °C with the fan at 100% on the bridge layer, but its usual failure mode is stringing across the span rather than sagging. If you get a web of fine threads instead of clean strands, that is a retraction problem, not a bridging one.
Why does my bridge look fine but break easily?
Either the span has too few solid layers above it, or the filament is wet. Add one or two solid layers over the bridged region and check the fracture surface — a foamy or bubbled break means moisture in the filament, and no slicer setting will fix that until the spool is dried.
- What Bridging Is in 3D Printing
- Bridging Settings: Starting Values That Work
- Bridging Problem Diagnostic Table
- How Long a Bridge Can Actually Be
- Material Behaviour: PLA vs PETG vs ABS
- How to Tune Bridging Step by Step
- 1. Slow the bridge move down
- 2. Drop the nozzle temperature
- 3. Force the fan to 100% on the bridge layer
- 4. Set bridge flow to 0.80–0.90
- 5. Go thinner on layer height and wider on line width
- Machine-Side Causes That Look Like Bad Bridging
- Design Changes That Beat Any Slicer Setting
- A 10-Minute Bridging Test Routine
- Frequently Asked Questions About Bridging
- What speed should I print bridges at?
- How long can a 3D printer bridge without supports?
- Why do my bridges sag in the middle?
- Should the cooling fan be at 100% for bridging?
- What is bridge flow ratio and what should I set it to?
- Does raising nozzle temperature help bridging?
- Can you bridge with PETG?
- Why does my bridge look fine but break easily?
Recommended products